
Last Updated on November 9, 2026
An OBD2 scanner not connecting to the ECU can leave you staring at a “Link Error” message instead of a list of codes. The scanner needs a working connection to the ECU (Electronic Control Unit) it is trying to reach. Your car may use separate computers for the engine, transmission and other systems, so one failed connection doesn’t tell you which part to repair.
Sometimes the fix is as simple as selecting the right ignition mode, seating the cable or correcting the app connection. Start with what the tool actually does. A screen that stays dark, an adapter the phone can’t see and a scanner that powers up but finds no vehicle are different starting points.
Common Causes of an OBD2 Scanner Not Connecting to the ECU
- The scanner stays dark. Check how your tool is powered. A port-powered reader can lose power through a DLC fuse, a poor ground, damaged wiring or a loose cable. A battery-powered tool may light up even if the port’s power circuit has failed.
- The app can’t see the adapter. Check Bluetooth, Wi-Fi or in-app pairing as specified by your adapter maker. Close other diagnostic apps that might already be using the adapter.
- The tool powers up but generic OBD2 won’t link. Confirm ignition mode, vehicle and protocol support, then inspect the port. An engine module power fault, wiring issue or network problem can also cause this symptom.
- Generic OBD2 works, but one enhanced system is unavailable. Check exact vehicle and module coverage, app or tool software, and any required security authorization. See how generic and enhanced OBD2 access differ.
Why this matters:
The right starting point saves you from chasing a wiring fault when the phone simply isn’t paired. A completed scan that says “No Codes” means the tool communicated with at least the selected system. If the screen says “No Communication,” troubleshoot the connection first and keep a record of the exact message.
Compatibility Issues Between OBD2 Scanner and Vehicle
If you have an OBD2 scanner not connecting to the ECU, check compatibility before touching the wiring. A plug can fit the socket even when the tool lacks support for the vehicle’s communication protocol.
🔎 Vehicle Year and Standard Support
Most U.S. passenger cars and light trucks support OBD2 starting with the 1996 model year. Earlier vehicles may use OBD1 or a manufacturer-specific system and may need a different tool or adapter. Adoption dates and vehicle categories differ by market. Check the vehicle’s emissions label, documentation and the scanner manufacturer’s coverage list for the exact model and engine.
🔎 Protocol Mismatch
Older OBD2 vehicles can use ISO 9141-2, ISO 14230-4 (KWP2000), SAE J1850 PWM or SAE J1850 VPW. ISO 15765-4 carries emissions diagnostics over CAN and became standard for covered U.S. light-duty vehicles by the 2008 model year. A CAN-only tool can therefore fit an older OBD2 socket and still fail to link. See the CAN Bus and OBD2 protocol comparison for how the connector, vehicle network and diagnostic service fit together.
🔎 How to Check Compatibility
- Check the scanner’s support for the vehicle’s year, make, model, engine and market. If your tool asks you to confirm a VIN, verify that it identified the right vehicle.
- Choose generic OBD2 first for a check engine scan. If you only need codes from ABS, SRS or another module, verify that exact system and function in the enhanced coverage list.
- If the tool reports a locked gateway, follow the vehicle and tool makers’ authorized access procedure. Some gateways permit code or data viewing but require authorization for functions such as clearing codes or running active tests.
✅ Fix for Compatibility Issues
Use the matching scanner or adapter. If possible, try a known-good compatible tool on the vehicle, or try the suspect tool on another vehicle it supports. Change one thing at a time. This can narrow the problem to the vehicle side or the tool side before you order anything.
Ignition & Power Supply Problems
An OBD2 scanner not connecting to the ECU may be getting power at the connector while the engine computer is asleep. Check the key or start-button mode before you move to electrical tests.
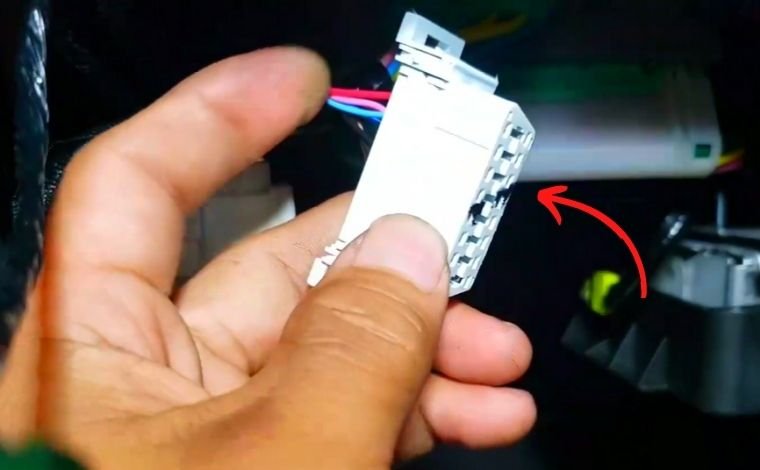
Ignition Key Issues
Park safely and plug in the scanner according to its instructions. Select ignition ON with the engine off if the tool calls for that mode. Accessory mode can power the radio while the module is unavailable. On push-button vehicles, use the procedure in the owner’s manual. If the tool requests a brief wait before retrying the connection, follow its instructions.
For the first scan and app setup, see how to connect an OBD2 scanner and read codes. If the phone has paired but the app still reports no vehicle, check the app’s selected adapter and vehicle profile before switching to a different protocol.
Low Voltage or Weak Battery
Low vehicle voltage or a poor power or ground connection can interrupt communications. Compare the battery and DLC power supply with the vehicle and tool specifications. An ordinary 12-volt vehicle should have a feed near its battery voltage at the designated power terminal under the manufacturer’s test conditions. Tool operating ranges differ.
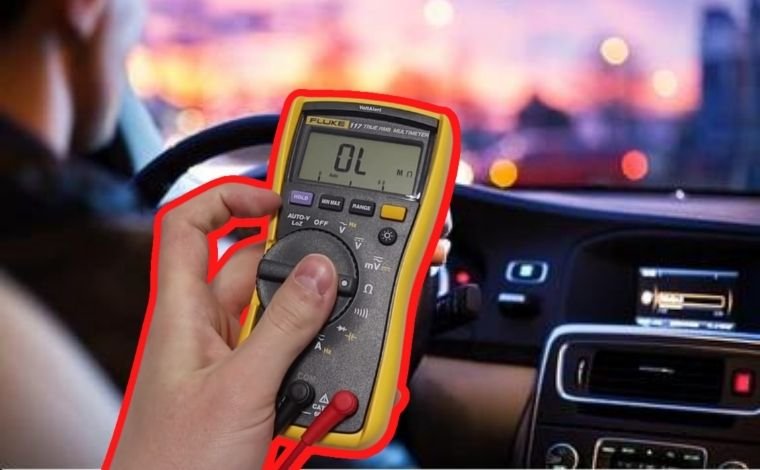
Use the vehicle fuse chart to find the feed that powers the DLC. It can share a circuit with an accessory outlet on some vehicles, while others use a separate fuse. If the service instructions allow you to replace a blown fuse, use the specified type and amperage. If it blows again, have the circuit checked for a short or overload.
Why Ignition & Power Supply Matter
A lit reader only tells you that the reader has power from some source. The module it needs to reach can still lack its own ignition feed, power or ground. If you know the DLC feed is good but neither of two compatible tools can link, record that result for the next diagnostic step.
Port & CAN Network Problems
🚪 OBD2 Port Problems
The data link connector (DLC) is the physical connection for the scanner. Inspect the connector and the scanner plug for debris, corrosion, damage or terminals that are pushed back. A loose socket or a worn cable can let the tool power up but lose its data connection.
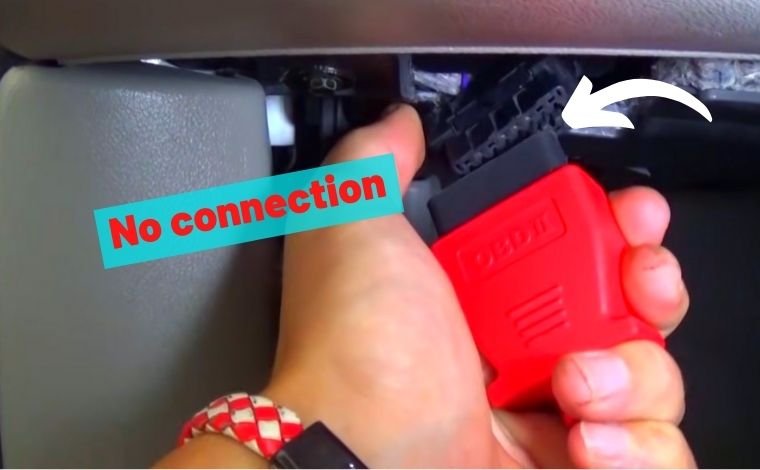
Seat the plug gently and check for accessories such as splitters or a second dongle that might interfere. If the vehicle manual permits it, remove those accessories and test with the scanner connected directly. Have loose, bent or damaged terminals inspected and repaired with the correct parts.
🔗 CAN Network Faults
A CAN wiring fault, gateway problem or module with a missing power or ground can interrupt communication. Vehicles can have several networks. Losing one module can give a different result from losing communication with every module. A full-system scan with a compatible tool can help a technician see which modules respond.
Why This Matters
Write down whether the connection fails when the plug moves, when voltage is low or every time you try a specific module. These details help isolate the problem. Even if a message mentions the ECU, verify its power, ground and network paths before considering replacement.
How to Check the OBD2 Socket
The SAE J1962 connector has 16 terminal positions. Some positions can be empty depending on the protocol and vehicle. Use the vehicle wiring diagram or a labeled diagnostic breakout box to identify the circuits instead of relying on the connector’s orientation under the dash.
🔍 Step-by-Step Guide to Checking the OBD2 Socket (DLC)
For an OBD2 scanner not connecting to the ECU, start with the checks you can make without probing terminals. Use the vehicle’s service procedure for any electrical measurement.
🛠️ Tools You’ll Need
For a first check, use a flashlight, the owner’s manual or fuse chart, and a compatible scan tool. Electrical tests call for the appropriate multimeter, a labeled breakout adapter or specified test probes, and the wiring diagram for the vehicle.
Step 1: Perform a Visual Inspection
With the ignition off, locate the port, usually below the dashboard on the driver’s side. Inspect the plug and socket for damage, moisture, debris or terminals that sit farther back than their neighbors. Some unpopulated positions are normal. Stop if a connector is visibly damaged or the plug has to be forced.
Step 2: Test Power Supply (Pin 16)
Pin 16 is the battery-positive supply on the standard connector. A technician can measure it through an appropriate breakout adapter and compare it with battery voltage under the conditions in the service information. If the feed is missing or falls substantially under the specified load, check the fuse and feed circuit.
Step 3: Test the Ground Pins (Pins 4 & 5)
Pin 4 is chassis ground and pin 5 is signal ground. Use the specific test and reference point the manufacturer gives for each circuit. A connector can show a plausible voltage with the scanner unplugged and still lose voltage under load. Keep test leads from bridging terminals.
Step 4: Check CAN Communication Pins (Pins 6 & 14)
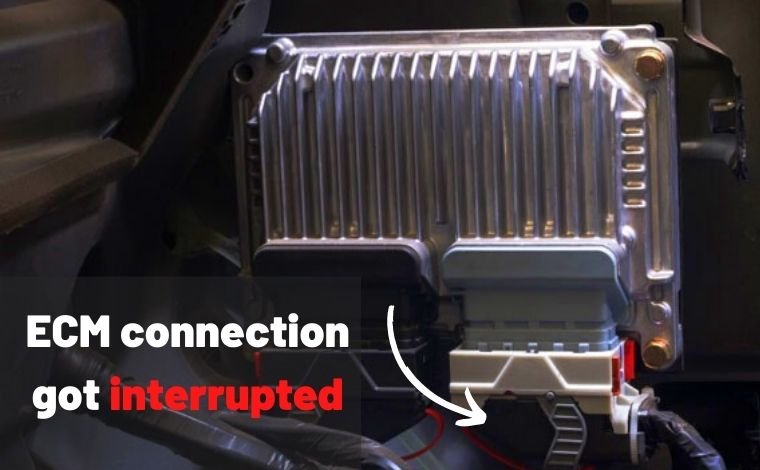
For a vehicle using ISO 15765-4 diagnostic CAN at the connector, pin 6 is CAN High and pin 14 is CAN Low. A technician will check the applicable network diagram first. Some two-termination CAN circuits read about 60 ohms in the manufacturer’s specified unpowered state, but the reading at the DLC depends on what the port connects to. Never switch a meter to resistance on a live circuit. Follow the service procedure for module shutdown and isolation before any resistance check.
Step 5: Have Terminal Fit Checked
A damaged or loose terminal can fail to make contact even when it looks straight. A technician can check terminal tension using the specified gauge and replace a deformed terminal. Inserting a needle or bending a terminal can spread the contact and make the connection worse.
Step 6: Reconnect the Scanner
After the relevant checks, reconnect your scanner and try a generic scan. If it connects, save the codes and any freeze frame before clearing anything. If the fault returns when the plug moves, have the cable and port checked. If it still won’t link, bring the exact failure message, vehicle details and test results to a technician.
FAQs – OBD2 Scanner Not Connecting to the ECU
Q1. Why is my OBD2 scanner not connecting to the ECU?
Start with ignition mode, the scanner’s compatibility and whether the tool can link to the vehicle in generic OBD2. Then check the power supply and connector condition before moving to network diagnosis.
Q2. My OBD2 scanner powers on but shows “No Connection.” What does that mean?
Check whether the error means the phone can’t reach the adapter, the adapter can’t reach the vehicle, or the tool can’t reach a particular module. The wording and status indicators in your tool’s manual help distinguish them.
Q3. How do I know if my car is OBD2 compatible?
Check the emissions label, model year and market. Most U.S. passenger cars and light trucks have OBD2 from model year 1996. Use the scanner maker’s coverage list to confirm the protocol and function you need.
Q4. What voltage should I get from my OBD2 port?
On a typical 12-volt passenger vehicle, the battery feed at pin 16 should be near actual battery voltage under the specified test conditions. Use the vehicle’s service procedure to check the feed and ground circuits.
Q5. Can a blown fuse stop the OBD2 scanner from working?
Yes. A blown DLC supply fuse can leave a port-powered scanner dark. A fuse that powers the module can also prevent communication even when the scanner turns on.
Q6. Can dust or dirt in the OBD2 port cause connection failure?
Debris can stop the plug from seating. Corrosion, pushed-back terminals and a damaged cable can also interrupt contact. Inspect the connector without forcing the plug.
Q7. How do I reset the ECU if it’s not responding?
Check ignition mode, power, grounds and the diagnostic connection first. Follow any reset procedure specified by the vehicle maker. Disconnecting the battery can erase useful data and reset emissions readiness, and it can require separate vehicle relearn procedures. If power was already disconnected, see the guide to checking OBD2 readiness after a reset.
Q8. What should I do if none of these fixes work?
Try a known-good compatible tool if available. If both fail on the same vehicle, have a technician test the DLC, gateway and the relevant module circuits using the vehicle wiring diagram.